Skip to content
Jade-Euro-Med
Continence Care Specialists
0800 7834228
Home
Sheaths
Drainage Bags
Body Worn Appliances
Ostomy Belts
Product Codes
Contact
Job Opportunities
Home
»
Body Worn Appliances
»
Simple Diaphragm Style
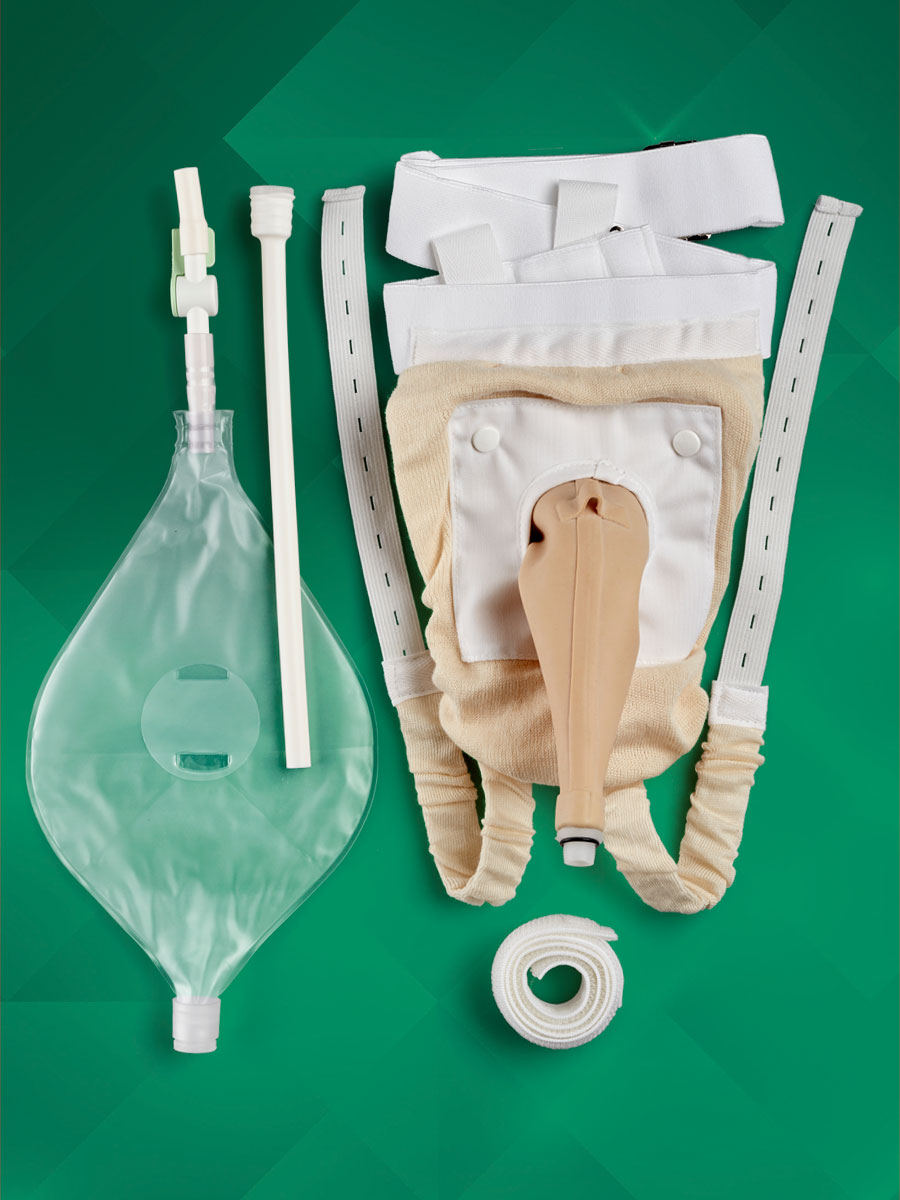
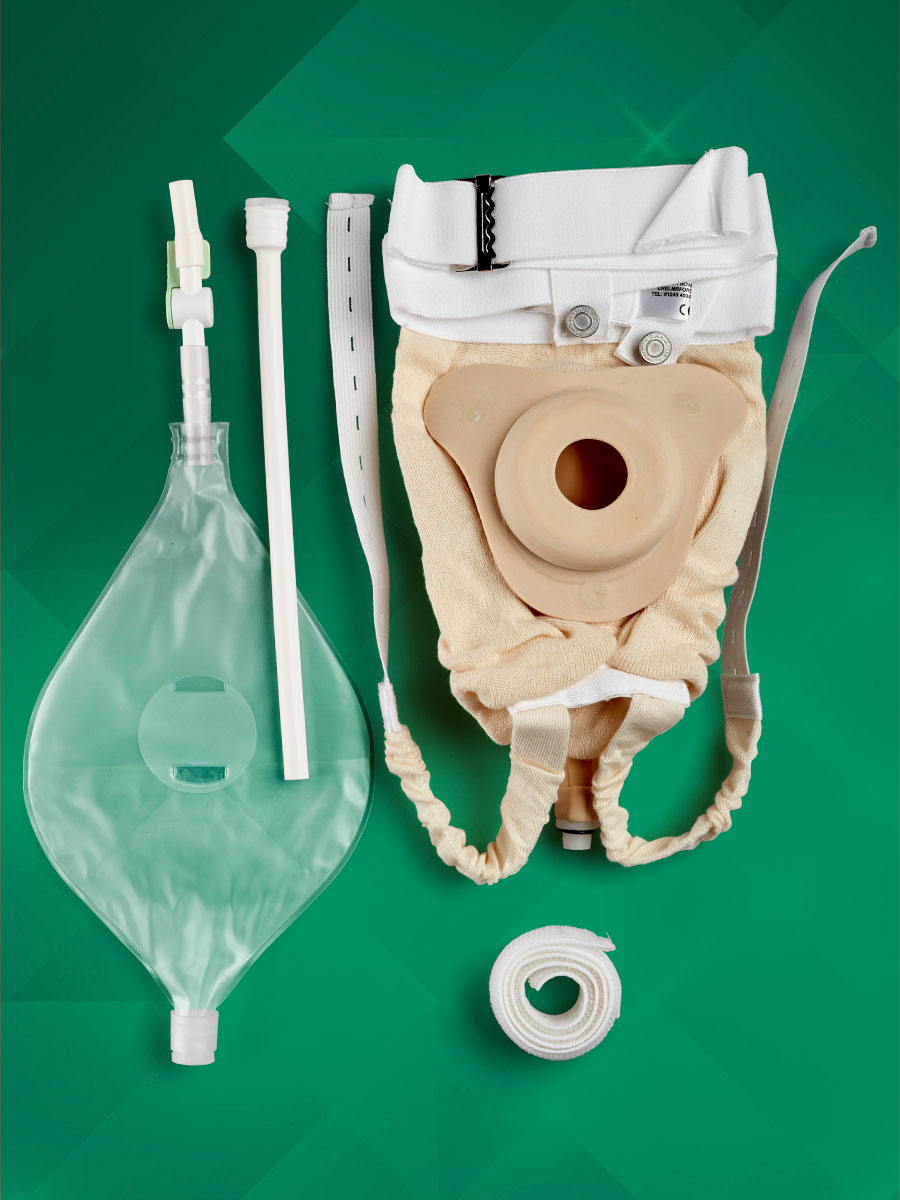
Simple Diaphragm Style
Simple Diaphragm Style, Fig 4a
Fig 4A : front
Fig 4A : back
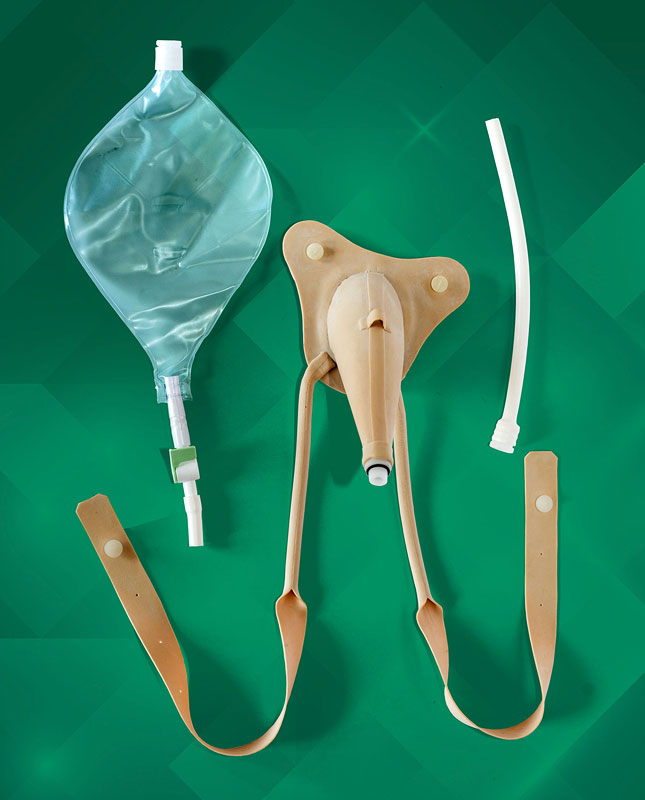
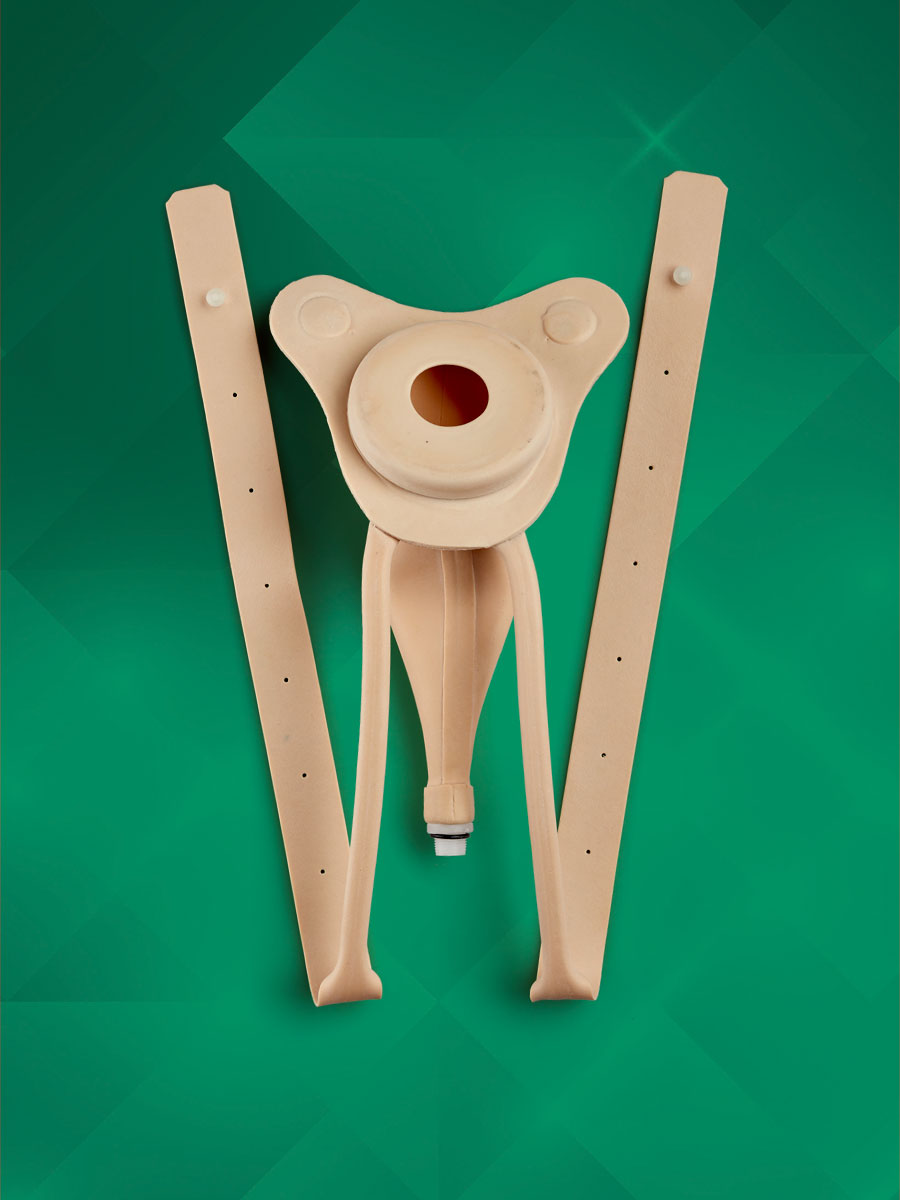
Simple Diaphragm Style, Fig 101
Fig 101 : front
Fig 101 : back